True cocktail creation isn’t about random creativity; it’s a disciplined craft built on understanding flavor architecture and mastering core techniques.
- Success comes from using proven frameworks (like the “Core, Modifier, Accent” model) as a launchpad for innovation, not from memorizing recipes.
- Advanced techniques like fat-washing and precise citrus oil extraction are what elevate a good drink to a professional-grade experience.
Recommendation: Start by deconstructing a classic you love. Identify its core “chassis” (the base ratio), then practice systematically swapping one element at a time to understand its impact.
You’ve mastered the basics. Your Daiquiri is sharp, your Old Fashioned is balanced, and you can follow a recipe to the letter. Yet, you feel stuck. When faced with an open bar and the challenge to create something new—something truly yours—you hesitate. You browse online for “unique cocktail ideas” only to find yourself back in the familiar loop of following someone else’s instructions. This is the plateau every aspiring mixologist hits: the transition from a cook to a chef, from a follower to a creator.
The common advice is to “just experiment” or “learn to balance flavors,” but this is like telling a painter to “just make art.” It ignores the underlying discipline. Many believe creativity is a chaotic spark, but in the world of high-end cocktails, it’s a structured process. The secret isn’t about adding more exotic ingredients or memorizing hundreds of obscure ratios. It’s about moving beyond the recipe and embracing the architecture of the drink itself.
This guide will not give you another list of recipes to follow. Instead, it will give you the framework a professional bartender uses. We will deconstruct the very essence of a cocktail, moving from flavor theory and advanced techniques to the mental and physical organization required for excellence. You will learn to see cocktails not as a fixed list of ingredients, but as a system of components—a “chassis” you can build upon with intention and skill. It’s time to stop replicating and start creating.
This article provides the essential frameworks and techniques to build your creative confidence. From understanding flavor interactions to mastering professional methods, you’ll find a clear path to developing your own signature style.
Summary: From Recipe Follower to Cocktail Creator
- Why Mapping Sweet, Sour, Bitter, and Umami Is the First Step to Creation?
- How to Fat-Wash Spirits with Butter or Oil Without Making Them Greasy?
- Measured Pour or Free Pour: Which Method Guarantees Consistency?
- The “7-Ingredient” Trap: Why Simple Cocktails Often Taste Better?
- How to Organize Your Home Bar Station for Speed and Efficiency?
- How to Balance Lime and Sugar to Perfect the Classic Daiquiri?
- How to Extract Citrus Oils to Create a Potent Base for Your Old Fashioned?
- How to Use the “Golden Ratio” to Balance Any Cocktail Without a Recipe?
Why Mapping Sweet, Sour, Bitter, and Umami Is the First Step to Creation?
Before a single drop of liquid enters a shaker, a professional bartender thinks like an architect. You don’t build a house by randomly nailing boards together; you start with a blueprint. In mixology, that blueprint is a flavor map. Simply “balancing” sweet and sour is entry-level. True creation begins when you can visualize how every component will interact across the entire sensory spectrum: sweet, sour, bitter, salt, and even umami. This is the foundation of flavor architecture.
This involves plotting your base spirit’s inherent characteristics. Is your gin citrus-forward and floral, or is it juniper-heavy and earthy? From there, you build layers. A modifier like sweet vermouth doesn’t just add sweetness; it brings bitter and herbal notes. A dash of saline solution doesn’t make a drink salty; it suppresses bitterness and makes citrus notes “pop.” Thinking in this structured way allows you to identify gaps and opportunities. As bartender Joel Lee Kulp of Grand Ferry Tavern demonstrated, starting with a single star ingredient and building the drink’s architecture around it—questioning texture, temperature, and service style—is how you achieve true mastery.
Instead of guessing, use a systematic approach to build your flavor profile. Here’s a professional technique to guide your creative process:
- Step 1: Map your base spirit. Identify its primary notes (e.g., woody, fruity, smoky) and plot them.
- Step 2: Plot potential modifiers. Think about them in terms of “weight”—light ingredients like herbs and citrus versus heavy ones like liqueurs and syrups.
- Step 3: Identify flavor gaps. Look at your map. Is it all sweetness and fruit with no bitter or herbal backbone? That’s your opportunity.
- Step 4: Add sharpening tools. A pinch of salt or a few drops of acid-adjusted citrus can act as a fine-tuning instrument, brightening the entire composition.
- Step 5: Test the ‘Experience Arc’. Evaluate the aroma, the initial taste on the palate, and the finish as three separate stages of the journey.
This methodical process transforms you from a gambler hoping for a good result into a composer who knows exactly what note each ingredient will play in the final symphony.
How to Fat-Wash Spirits with Butter or Oil Without Making Them Greasy?
Moving into professional-grade cocktail creation means manipulating texture, not just flavor. Fat-washing is a prime example—a technique that infuses the rich, savory notes of fats like brown butter, bacon, or coconut oil into a spirit, adding depth and a silky mouthfeel. It’s a powerful tool for creating memorable drinks, which is why 72% of consumers now seek multi-sensory cocktail experiences, according to a 2024 trend forecast. The challenge, however, is achieving that rich flavor without leaving a greasy, unpleasant residue.
The secret lies in a disciplined, temperature-controlled process. Simply shaking oil and spirits together and hoping for the best will lead to a cloudy, separated mess. Professionals use a double-freeze method to ensure a crystal-clear, perfectly infused result. This technique leverages the different freezing points of alcohol and fat. When chilled, the fat solidifies into a solid “puck” that can be easily removed, leaving only its flavor molecules behind in the spirit.
As you can see, the goal is a thorough incorporation of the fat into the liquid before freezing. This ensures maximum flavor transfer. For a flawless infusion, follow this precise professional method:
- Start with a 1:4 ratio of fat to spirit (e.g., 100g of melted butter to 400ml of bourbon).
- Use an immersion blender to combine them. This creates a much finer emulsion than just shaking.
- Let the mixture infuse at room temperature for at least 30 minutes to an hour.
- Freeze the container for 6-8 hours, or until the fat has formed a completely solid cap on top.
- Break the cap, remove it, and strain the spirit through a coffee filter to catch any small particles.
- For an ultra-clear finish, freeze the spirit a second time and perform a final strain through a fine cheesecloth.
This methodical approach is non-negotiable for a clean, professional product. It’s a testament to the principle that in advanced mixology, technique and discipline trump shortcuts every time.
Measured Pour or Free Pour: Which Method Guarantees Consistency?
In the world of bartending, the debate between using a jigger (measured pour) and free pouring is a classic one. For the home bartender aspiring to a professional level, the answer isn’t about choosing one over the other; it’s about understanding the strategic purpose of each. Free pouring looks impressive, a fluid dance of bottles that signals speed and confidence. A measured pour, on the other hand, signals precision, control, and repeatability. So which one is right?
The truth is, consistency is born from measurement. When you are developing a new cocktail, accuracy is paramount. A quarter-ounce deviation in citrus or syrup can be the difference between a balanced masterpiece and a flawed drink. This is the R&D (Research & Development) phase, where the jigger is your most crucial tool. However, in a high-volume service environment, speed becomes critical. A bartender who has made a thousand Daiquiris can often free pour with remarkable accuracy, saving precious seconds on each order.
For the creator, the professional standard is often a hybrid approach. You use a jigger for the main components of the drink—the “chassis” of spirit, citrus, and sugar—to ensure the foundation is flawless. Then, you might free pour or use dashes for the “accents,” like liqueurs and bitters, where a slight variation is more forgiving and adds a personal touch. This balances the need for a replicable core recipe with the efficiency and flair of service.
The following table breaks down when to use each method, helping you decide which tool fits the task at hand.
| Aspect | Jigger/Measured Pour | Free Pour | Hybrid Method |
|---|---|---|---|
| Best For | Recipe development & testing | High-volume service | Craft cocktail bars |
| Accuracy | ±0.125 oz precision | ±0.25-0.5 oz variance | Base accurate, accents flexible |
| Speed | Slower (single-handed) | Faster (two-handed possible) | Moderate |
| Training Time | Immediate competency | 10-15 hours practice minimum | 5-8 hours |
| Use Case | Creating signature recipes | Established cocktails | Creative adjustments |
Ultimately, a jigger doesn’t slow you down; it ensures the time you spend creating isn’t wasted on an imbalanced drink. Master the jigger first. Earn the right to free pour later.
The “7-Ingredient” Trap: Why Simple Cocktails Often Taste Better?
In the quest to create a “complex” cocktail, many aspiring mixologists fall into a common trap: they believe more ingredients equal more sophistication. They pile on multiple liqueurs, two types of bitters, a special syrup, and a flavored tincture, resulting in a drink with seven, eight, or even nine components. The result is rarely complex; it’s “muddy.” The individual flavors get lost in a confusing jumble, with nothing standing out. The drink lacks a clear point of view.
As Cheryl Heisler, a respected Chicago-based beverage consultant, aptly puts it:
A cocktail isn’t complex because it has 7 ingredients; it’s ‘muddy’ if those ingredients don’t have a clear purpose. The ‘Core, Modifier, Accent’ framework ensures every ingredient has a distinct role.
– Cheryl Heisler, Mixed metaPours, Chicago
This insight is the key to unlocking true complexity. Great cocktails are not about the number of ingredients, but about the intentionality of each one. The “Core, Modifier, Accent” framework is a professional discipline for building drinks with clarity and purpose. It forces you to justify every bottle you pick up. Instead of adding three different sweet liqueurs, you are forced to ask: which one best complements my core spirit? This is how you create drinks where every flavor can be tasted, yet they combine to create something new and harmonious.
Here is how to apply this disciplined framework to your creations:
- Core (40-50% of the drink): This is the soul of your cocktail. Choose one base spirit that defines its fundamental character. All other ingredients must serve this core.
- Modifier (25-30%): This is the supporting actor. Add one primary element that complements or contrasts with the core without overwhelming it. Think vermouth in a Martini or lime and sugar in a Daiquiri.
- Accent (5-10%): These are the details, the finishing touches. One or two enhancers like bitters, a subtle tincture, or an aromatic garnish. Their job is to add a final layer of complexity or aroma.
Next time you’re tempted to add a fourth liqueur, stop and ask: is this a Core, a Modifier, or an Accent? If you can’t answer, leave it on the shelf. Simplicity, executed with intention, is the ultimate sophistication.
How to Organize Your Home Bar Station for Speed and Efficiency?
A cluttered workspace leads to a cluttered mind and, ultimately, a cluttered cocktail. In a professional bar, every tool, bottle, and garnish has its place—a system known as *mise en place*. This isn’t just about being tidy; it’s about economy of motion. When you’re in the creative flow or trying to serve guests, you can’t afford to spend 30 seconds hunting for the Angostura bitters. For the home bartender serious about creation, setting up your station like a pro is a non-negotiable step toward efficiency and better drinks.
However, professional organization goes beyond simply grouping your spirits. A revolutionary method adopted by many top mixologists is to organize your collection not by spirit category (gin, whiskey, rum), but by flavor profile. Imagine shelves dedicated to “Herbal & Botanical,” “Smoky & Peaty,” “Bitter & Citrusy,” and “Sweet & Vanilla.” This system does something magical: it sparks unexpected creative connections. When you’re looking for a bitter element, your eyes scan a whole range of options—from Campari to a bitter gin to an amaro—that you might not have considered otherwise. This is how you break free from predictable pairings and discover groundbreaking combinations.
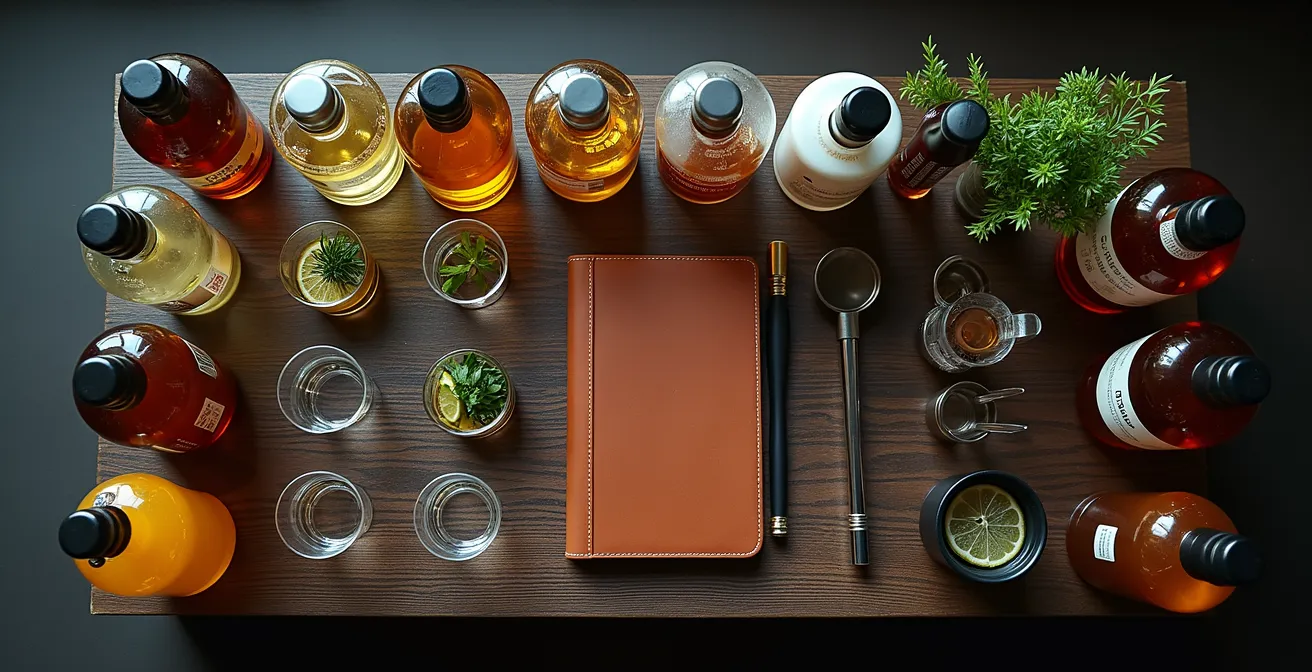
Your creative workspace, or “Creation Station,” should be a dedicated zone for experimentation. This includes having small 2-ounce bottles for testing new infusions, droppers for precise additions of bitters or tinctures, and a notebook to log every success and failure. Fresh juices should be prepped, and your essential tools—shaker, jigger, strainer, spoon—should be within immediate reach. This level of organization frees your mind from the logistics of assembly and allows you to focus entirely on the creative act of building flavor.
Treat your bar like a chef’s kitchen. A clean, organized, and logically arranged station is the mark of a craftsman who respects their work. It’s the physical manifestation of the disciplined mindset required to create exceptional cocktails.
How to Balance Lime and Sugar to Perfect the Classic Daiquiri?
The Daiquiri is the ultimate test of a bartender’s skill. With just three ingredients—rum, lime, and sugar—there is nowhere to hide. It is the purest expression of the sour formula, and perfecting it is a masterclass in balance. While the classic 2:1:1 ratio (2 parts rum, 1 part lime, 1 part simple syrup) is a fine starting point, moving to a professional level requires a deeper, more scientific understanding of your ingredients. Not all limes are the same, and not all syrups are created equal.
The first step is to treat your syrup with the precision of a chemist. Simple syrup (1:1 sugar to water) can vary in sweetness depending on how it’s made. Professional bartenders often use a refractometer to ensure their syrup reaches a consistent density, or Brix. As a general rule, professional bartenders recommend using a refractometer to measure an optimal Brix level between 50-65° for a standard 1:1 simple syrup. This guarantees that your sweet component is the same every single time, removing a major variable from the equation.
Next is the lime. Limes can vary in acidity (from 5% to 8% citric acid) and sweetness depending on their origin, ripeness, and time of year. The mantra “always use fresh juice” is just the beginning. A true craftsman tastes their lime juice daily, adjusting the sugar ratio slightly to compensate for its natural variance. Some even employ a “split base” of citrus, using a mix of lime and lemon juice to achieve a more complex and consistent acidic profile. This is the level of detail that separates a good Daiquiri from a great one.
Your Action Plan: Calibrating the Daiquiri for Perfect Balance
- Test Your Citrus: Before mixing, taste your lime juice on its own. Is it sharply acidic or relatively mild? This is your primary variable.
- Calibrate Your Syrup: If possible, measure your 1:1 simple syrup’s density (aiming for 50° Brix). At a minimum, always make it the same way (by weight is best) to ensure consistency.
- Experiment with a Split Base: Try building your “sour” component with a 60/40 or 70/30 blend of lime and lemon juice to add an extra layer of complexity to the acidity.
- Control Dilution: Always shake with the same amount and type of ice (e.g., 1 cup of 1-inch cubes) for the same amount of time (12-15 seconds) to manage the water content, which is a key ingredient.
- Manage Temperature: For ultimate control, pre-chill your rum in the freezer before shaking. A colder start means you can shake for flavor and texture with less risk of over-dilution.
By controlling these variables—syrup density, citrus acidity, dilution, and temperature—you move from simply assembling a drink to truly engineering it for perfection.
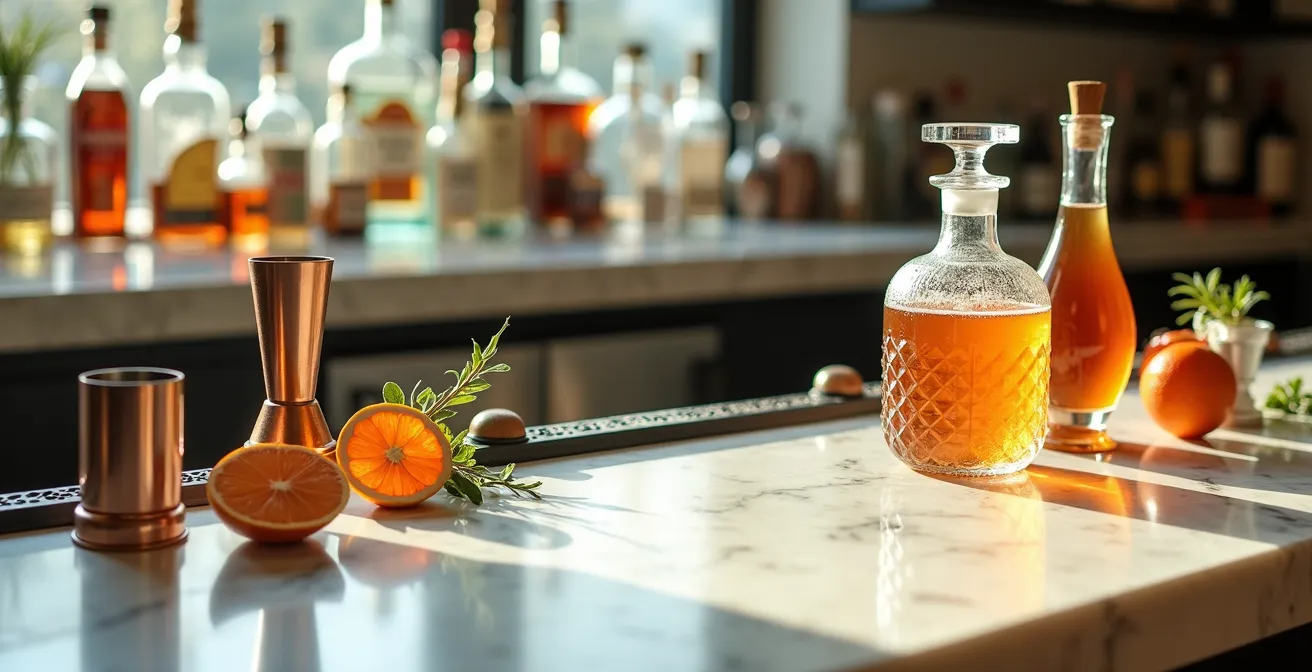
How to Extract Citrus Oils to Create a Potent Base for Your Old Fashioned?
An Old Fashioned is defined by three things: whiskey, sugar, and bitters. But what elevates a standard Old Fashioned to a transcendent one is a fourth, often overlooked element: citrus oil. A simple twist of orange peel expressed over the glass adds a bright, aromatic top note. But to build a truly integrated and potent citrus foundation, professionals are increasingly turning to more advanced extraction techniques that go far beyond a simple garnish.
The most revolutionary of these is the use of oleo saccharum (Latin for “oil-sugar”). This is a historic technique where citrus peels are macerated with sugar. The sugar’s hygroscopic properties pull the intensely aromatic oils from the peels, creating a rich, fragrant, and deeply flavorful syrup. This “super base” provides both the sweetness and the citrus element in one, perfectly integrated ingredient. Top bars have found that using oleo saccharum not only creates a superior-tasting Old Fashioned but also increases consistency and reduces preparation time during service.
While oleo saccharum is ideal for batching, different situations call for different methods of oil extraction. The choice depends on the desired intensity and the context of service (a single drink versus a large batch). Understanding the flavor profile each method produces is key to deciding which to use for your signature cocktail.
| Method | Intensity | Time Required | Best For | Flavor Profile |
|---|---|---|---|---|
| Oleo Saccharum Base | High | 2-24 hours | Batch cocktails | Deep, sweet, complex |
| Expressed Peel | Medium | Immediate | Individual drinks | Bright top notes |
| Regal Shake (with hull) | Very High | During shake | Bold cocktails | Bitter, aromatic, intense |
By mastering these extraction methods, you’re no longer just garnishing a drink; you’re building its aromatic soul from the ground up. This is the kind of detail that defines a signature cocktail.
Key Takeaways
- True cocktail creativity is a structured discipline, not random guesswork. It starts with understanding flavor architecture.
- Mastering core techniques with precision (like fat-washing or controlled dilution) is more important than having a large bottle collection.
- Use proven frameworks like “Core, Modifier, Accent” and the family of classic ratios as a reliable foundation for innovation.
How to Use the “Golden Ratio” to Balance Any Cocktail Without a Recipe?
The ultimate goal for any creator is to break free from recipes entirely. The key to this freedom isn’t memorization, but a deep understanding of structure. In mixology, this structure comes from a “family of ratios”—classic templates that have been proven over centuries. These ratios are not rigid rules but flexible frameworks, or as the celebrated cocktail historian David Wondrich calls it, the “chassis” of a drink.
Use a perfectly balanced ratio as the ‘chassis’ of your drink, then systematically layer on ‘modifiers’ (liqueurs) and ‘accents’ (bitters, tinctures) to build a complex, signature creation from a proven foundation.
– David Wondrich, Imbibe! From Absinthe Cocktail to Whiskey Smash
This concept is the final piece of the puzzle. Once you understand that a Daiquiri, a Whiskey Sour, and a Margarita are all built on the same Sour Template (2:1:1), you are no longer making three different drinks. You are making one type of drink with interchangeable parts. You can take that 2:1:1 chassis and swap the rum for tequila, the simple syrup for agave, and you’ve just invented a Margarita. What if you used gin as the base and a honey-ginger syrup as the sweetener? You’ve just created a signature cocktail.
By internalizing this family of core templates, you gain a powerful system for creation. You can confidently build a balanced drink from scratch, knowing its underlying structure is sound. The creativity comes from the systematic layering of modifiers and accents on top of that proven foundation.
- Sour Template (2:1:1): 2 parts spirit, 1 part sour, 1 part sweet. (e.g., Whiskey Sour, Daiquiri)
- Old Fashioned Template (4:0.5:0.5): 4 parts spirit, 0.5 part sugar, 0.5 part bitters.
- Negroni Template (1:1:1): Equal parts spirit, bitter aperitif, and sweet vermouth.
- Highball Template (1:3): 1 part spirit to 3 parts carbonated mixer.
- Manhattan Template (2:1): 2 parts whiskey to 1 part vermouth, plus bitters.
Stop thinking in terms of individual recipes. Start thinking in terms of these foundational templates. This is the final step in the transition from follower to creator. Pick a template, choose your ingredients with intention, and begin the disciplined work of building something that is uniquely, undeniably yours.